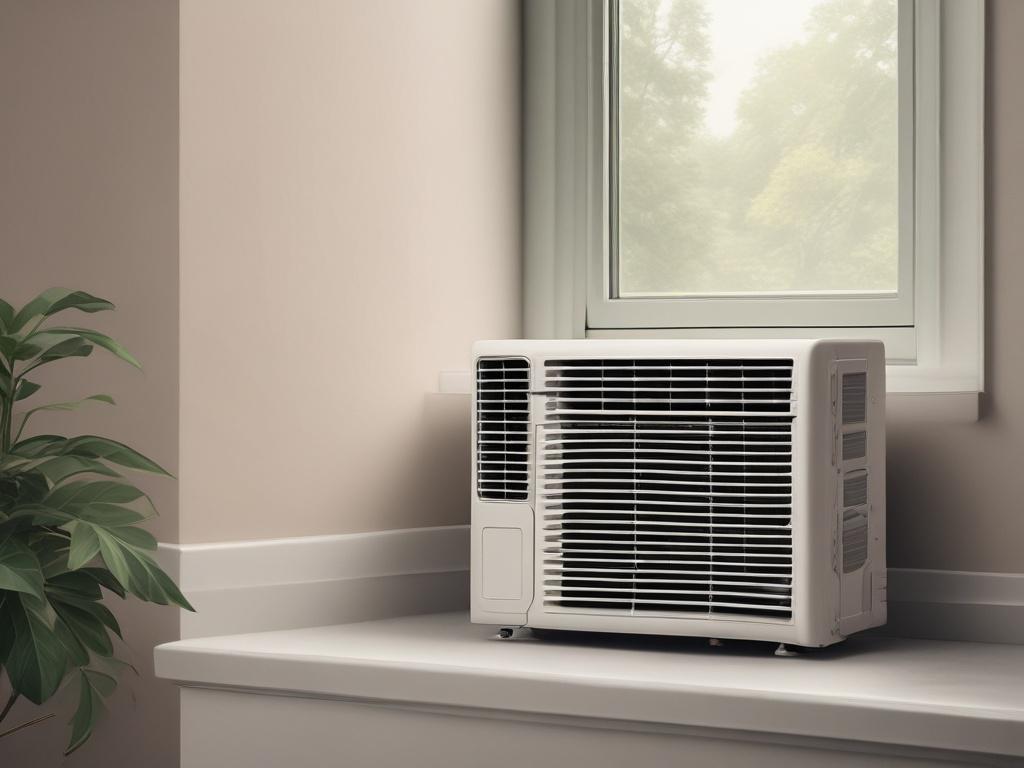
Installing a window air conditioning unit is crucial for homeowners looking to beat the heat during the summer months. Although it may seem simple, the process requires careful planning and the right tools to ensure a proper installation that operates efficiently. Understanding the steps that professionals take to install one of these units can provide valuable insights, whether you opt for a DIY approach or seek the help of a technician.
In this blog post, we will discuss the essential tools and materials needed and the step-by-step guide that experts follow to guarantee optimal performance.
Before installing a window AC unit, it's essential to gather the right tools and materials to ensure a smooth setup. Professionals often begin by collecting basic tools such as a screwdriver, a level, a measuring tape, and pliers. Additionally, they may need a drill for securing brackets and, in some cases, a utility knife to help with packaging or adjustments to the window frame. The installation can proceed efficiently without interruptions by having all necessary tools on hand.
Regarding materials, professionals consider the window AC unit and any installation kits that often accompany it. This can include brackets, weather seals, and support brackets. High-quality materials ensure better insulation and a more stable fit, ultimately enhancing the unit’s performance. Professionals also recommend having a friend or a helper nearby to assist with lifting and positioning the unit, as it can be heavy and difficult to manage alone. Proper preparation with the right tools and materials sets the foundation for a successful installation.
Installing a window AC unit requires precision, and professionals follow a systematic approach for optimal results. First, they assess the window frame's size and structure, ensuring it can support the unit's weight. After measuring and selecting the right unit, they prepare the window by removing any curtains or obstructions. They then completely clean the area to avoid any dirt or debris interfering with the installation. Next, they set the AC unit on a piece of foam or a blanket to protect it during handling before positioning it into the window frame.
Professionals extend the side curtains once the unit is securely placed to ensure a snug fit and prevent air leakage. They meticulously level the AC unit, ensuring it tilts slightly toward the outside for proper water drainage. After securing the unit with brackets, they seal any gaps with weather stripping to improve energy efficiency. Finally, they plug in the unit, perform a test run to check functionality, and provide guidance on thermostat settings and maintenance tips to ensure a seamless user experience.
When installing a window air conditioning unit, it's easy to overlook critical steps, leading to inefficient operation or even damaging the unit. One common pitfall is not correctly measuring your window space before purchasing the unit. Before installation, professionals always take precise measurements, ensuring the AC fits snugly within the window frame. Failing to consider the window’s weight capacity can result in an unsafe installation or potential damage to the unit or the home. Additionally, many overlook the importance of securing the unit firmly to prevent it from shifting or falling out of the window, especially in windy conditions.
Another frequent mistake is neglecting the insulation and sealing around the unit. Professionals ensure that gaps between the AC unit and the window frame are adequately sealed with foam insulation or weather stripping. This step is crucial to prevent air leaks that can lead to higher energy bills and poor cooling efficiency. Further, many DIY installers forget to level the unit, which can hinder proper drainage and lead to water buildup inside the room.
Reach out to Dr. Kool Cooling & Heating for fast, reliable window A/C unit installation, service, and maintenance services. Our team is here to keep your home cool and comfortable all summer long. Call us today to schedule your service!
 Jack C. Hvac